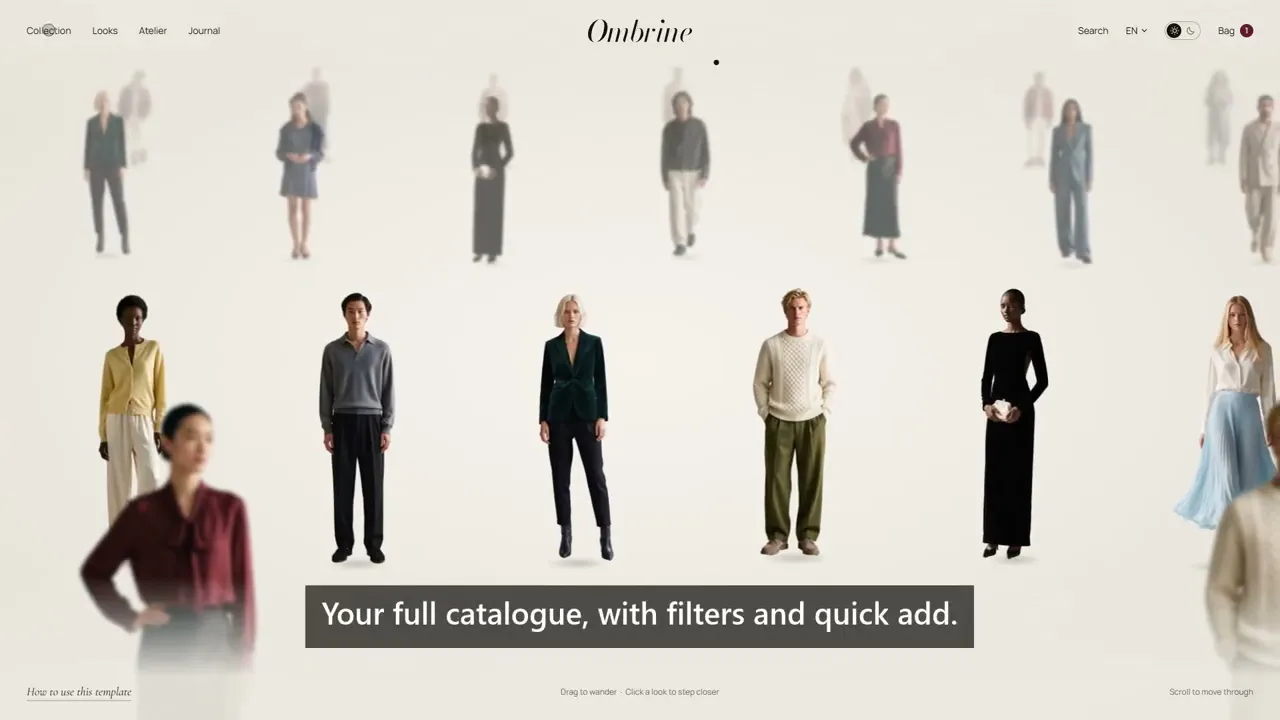
Template guide
Everything a new owner needs to make Ombrine their own store in an afternoon. Before you launch, remove this page and the links to it in the footer and on the Home hero.
No Framer Commerce needed
The template talks to Shopify directly, so there is no extra commerce subscription to pay for.
Sync once
CMS → Shopify CMS Sync → Sync
This brings your products into Framer. Sync again only when you add or remove a product, or change a title, description or picture.
Video lessons
A short tour, then one clip for each part of the set-up. Each takes a minute or less.
Template tour
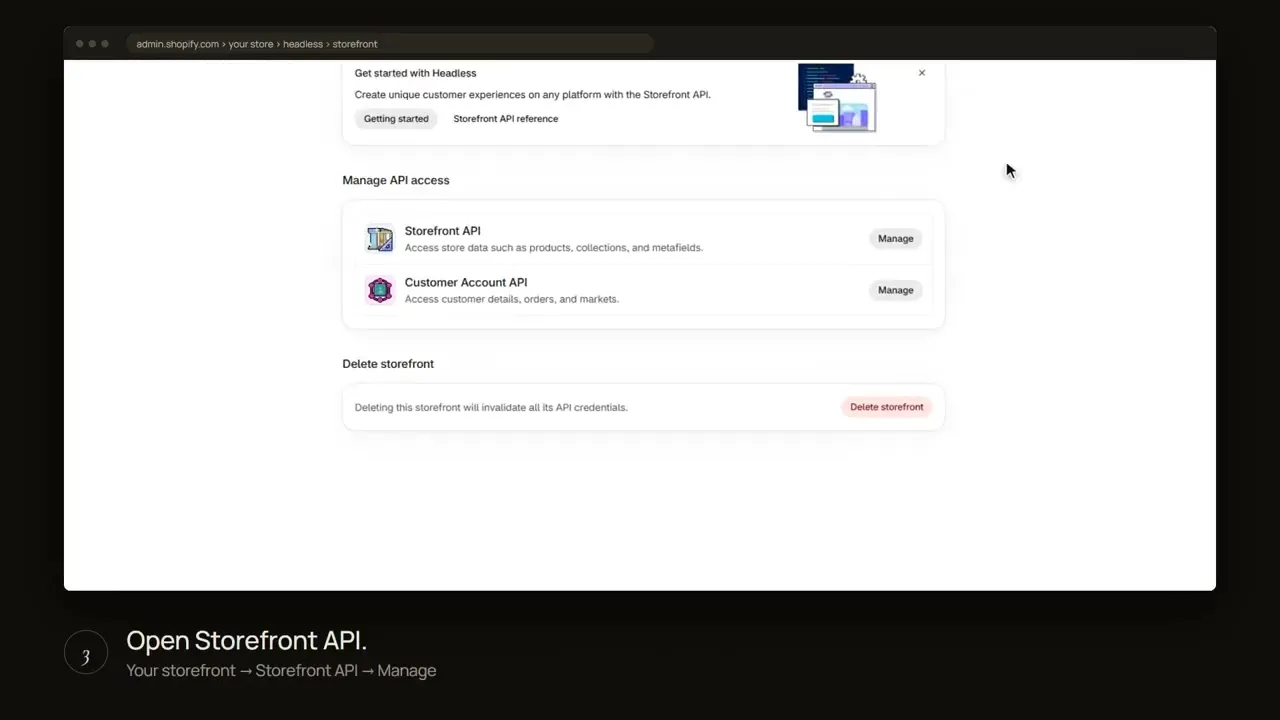
1. Get your token
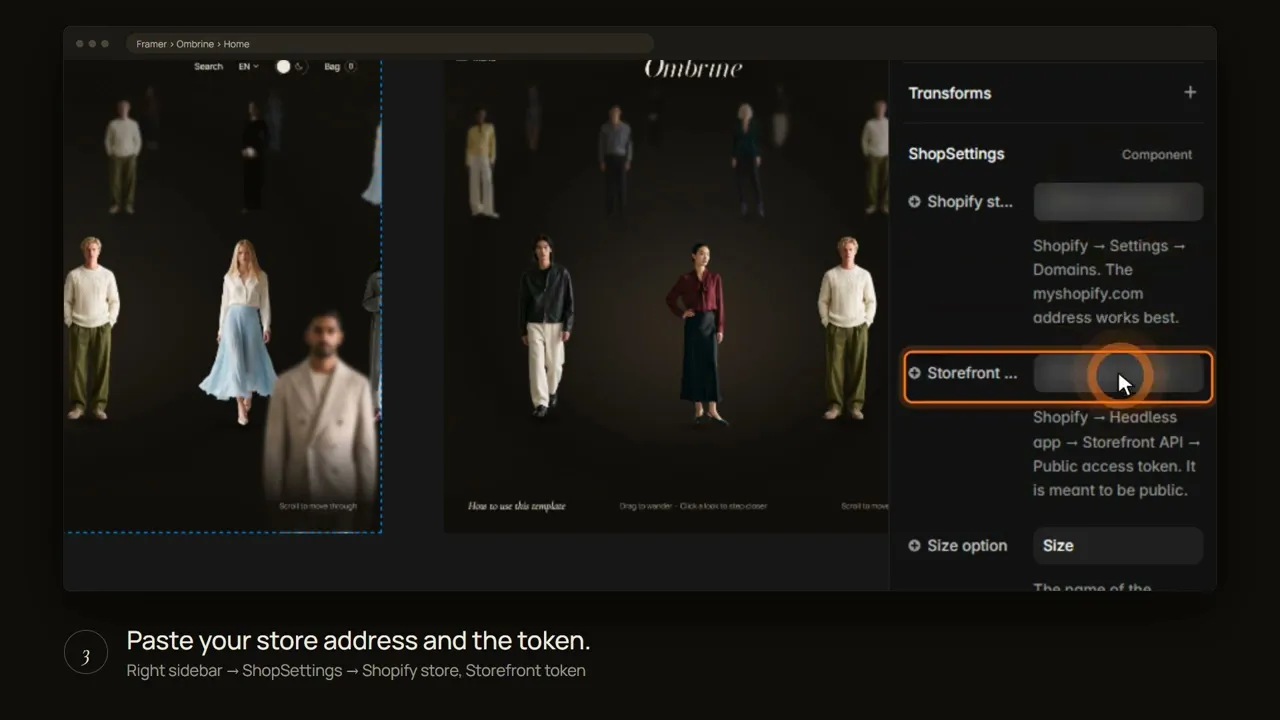
2. Connect your shop
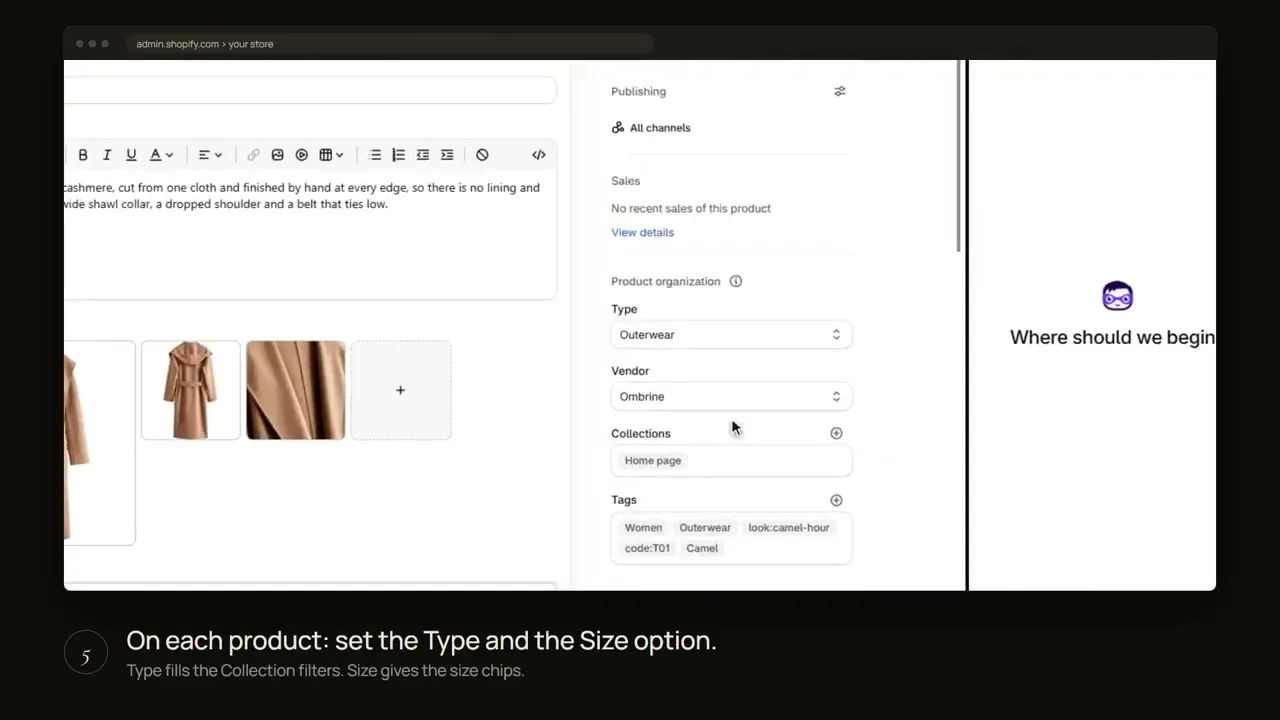
3. Add product details
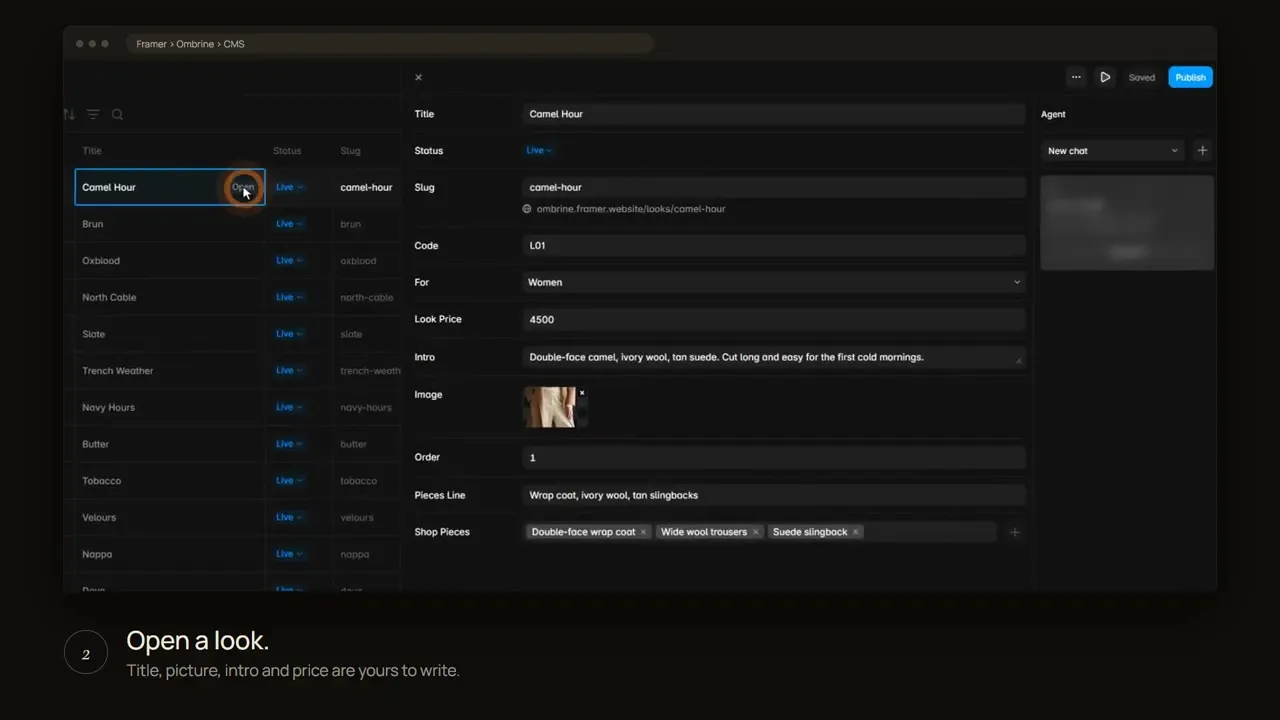
4. Build a look
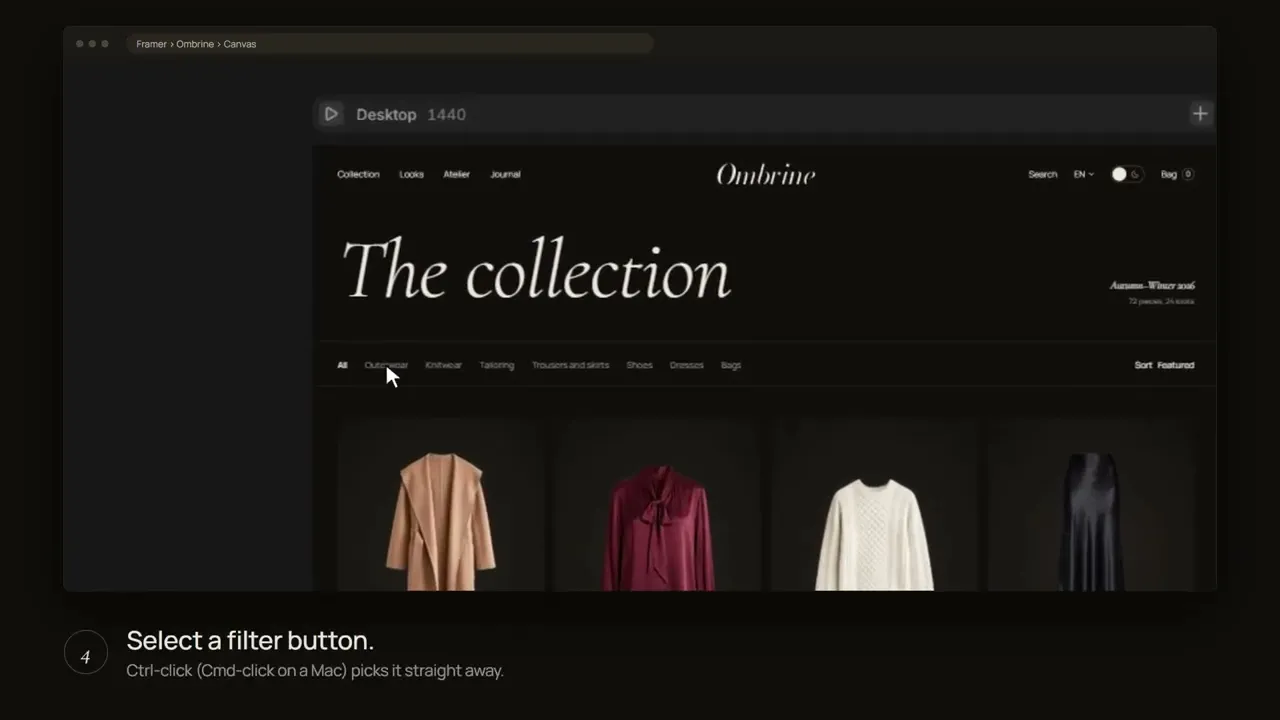
5. Match the filters
1
Change the brand
Logo
Header → Logo → Logo file
Drop in your SVG or transparent PNG, in the Header and in the Footer. It takes the Ink colour and stays centred in every state and language.
Colours
Assets → Colors
Every colour has a Light and a Nuit value. Change a value once and the whole site follows.
Type
Assets → Text Styles
All text uses these styles. Chinese and Arabic switch to their own fonts automatically.

2
Connect Shopify and edit the looks
New to Shopify? Follow these seven steps.
1. Get your token from the Headless app
Shopify App Store → Headless → Create storefront → Storefront API → Manage
Install Shopify’s own Headless app, create a storefront in it, then open Storefront API and copy the Public access token. Use the public token, never the private one.
2. Add the product details (optional)
Settings → Custom data → Products → Add definition
Six single-line text fields, named exactly like this and each with Storefront access on: Colour, Colour hex, Short line, Composition, Care, Made in. Then fill them in on each product.
3. Set up each product
Options: Size, and Color if you need it
Size gives the size chips; Color adds a colour picker. Product Type fills the Collection filters. Use transparent PNG cut-outs, 1600 px tall or more.
4. Sync to Framer
CMS → Shopify CMS Sync → Sync
Your products appear in the “Shopify CMS Sync” collection.
5. Connect the shop
Home page → Shopify Settings card
Click the card left of the Home frame and paste your store address (your-shop.myshopify.com) and the Public access token from the Headless app. It reads “Connected”.
6. Build the looks
CMS → Looks → Shop Pieces
Pick the products that make up each look.
7. Match the filters
Collection page → filter chips
Rename the chips to your own Product Types.
Already have a Shopify store? This is what carries over.
Works straight away
Title, description, price, pictures, stock, currency
These come from your products exactly as they are. Nothing to change.
Check your size option
Product → Options → Size
Size chips appear when the option is called Size. If yours has another name, type that name under Size option on the Shopify Settings card.
Check your product types
Product → Product type
Each type can have a filter chip on the Collection page. Products without a type still show under All.
Pictures
Transparent cut-outs look best. Ordinary photos work too; they are shown whole on the studio tile.
Optional details
Colour, Colour hex, Short line, Composition, Care, Made in
Six metafields you may add (step 2). Leave any of them out and that line simply does not show. A Color option fills in the colour by itself.
Looks are yours to build
CMS → Looks
The demo looks point at the demo products. Replace them with your own looks, or delete them.

3
How the Salon works
Settings
Home → Salon
Season line, auto-scroll and direction, opening and pace, rows, labels, minimap, cursor and logo.
Content
CMS → Looks
Looks come from the Looks collection, their pieces from your Shopify products.
Wordmark
Salon → Wordmark
Leave it empty to keep the animated Ombrine letters, or add your own SVG or PNG.
Motion and input
Respects reduced motion and works with touch, mouse, trackpad and keyboard.

4
Checkout and forms
Bag and checkout
Home page → Shopify Settings card
The bag lives in the browser and survives reloads. Once the shop is connected, Checkout opens Shopify’s checkout.
Forms
Form → Send to
Newsletter and fitting forms post to a Formspree, Basin, Mailchimp or Make URL. Empty means demo mode.
Accounts
Framer has no customer accounts. Link to your Shopify customer account pages if you need them.

5
Languages and Nuit
Languages
English and Arabic are live
Six languages are translated: English, French, Spanish, Russian, Chinese and Arabic. Only English and Arabic are published; the other four are kept as drafts. Product names and descriptions come from Shopify in its main language.
Publish a draft language
Localization → language → Settings → Draft off
Switch Draft off for each language you want, then publish the site. It then appears in the language menu. Left as a draft, visitors never see it.
Arabic
Only the words change; the layout stays exactly as in English.
Prices
Formatted per language. The currency follows your Shopify store.
Light and Nuit
Header → theme switch
Remembers the visitor’s choice and follows the OS setting on the first visit.
